

1. 前言
各位看官們可能之前已經看過筆者寫的Anaconda搭配CUDA及cuDNN安裝及介紹(Win10平台),裡面有教大家如何於Window 10上架設Anaconda環境及安裝CUDA與cuDNN,這次筆者要利用之前文章的環境來教大家如何安裝TensorFlow 2.x GPU並使用TensorFlow 2.6進行SSD-MobileNet遷移訓練。
2. TensorFlow 2.6 GPU下載安裝
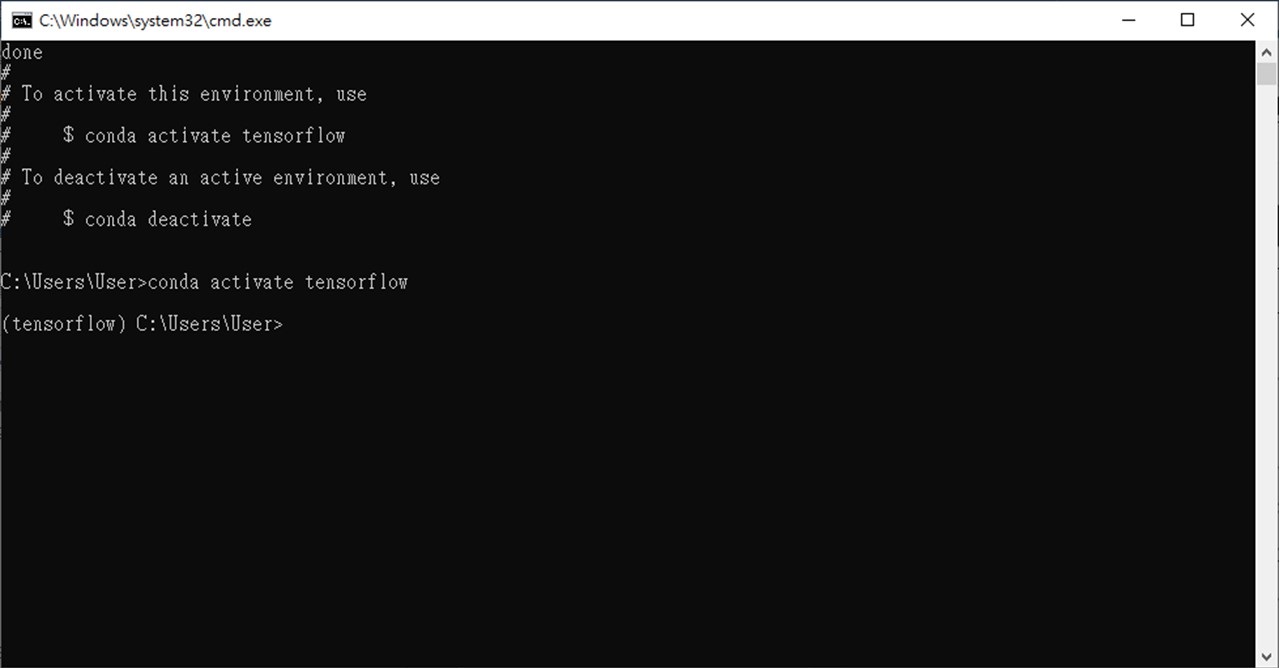
- 使用命令提示字元進入tensorflow虛擬環境(圖1)
|
conda activate tensorflow |
|
|
|
圖1 |
- tensorflow虛擬環境內輸入以下指令進行安裝
|
pip install tensorflow==2.6.0 |
- 安裝時如果發生AttributeError: module 'brotli' has no attribute 'error',請輸入以下指令進行解決,解決完再重新輸入上一步驟指令進行安裝。
|
conda install -c anaconda urllib3 |
- 安裝tensorflow時如果發生以下錯誤,請把錯誤的資料進行pip install安裝(圖2)
|
|
|
圖2 |
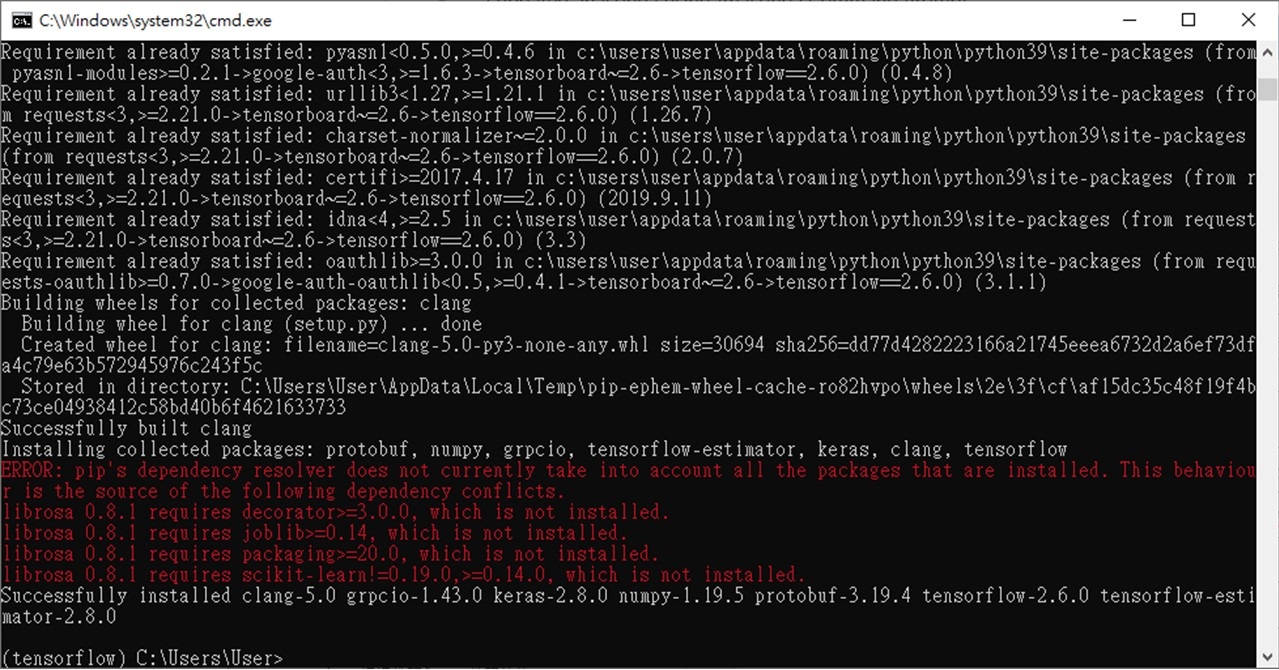
如:
pip install decorator>=3.0.0
pip install joblib>=0.14
pip install packaging>=20.0
pip install scikit-learn >=0.14.0
- 輸入以下指令驗證TensorFlow 2.6 GPU版本是否安裝成功
|
python -c "import tensorflow as tf;print(tf.reduce_sum(tf.random.normal([1000, 1000])))" |
- 成功應會出現以下相關資訊(圖3)
|
|
|
圖3 |

3. TensorFlow物件偵測API安裝
- TensorFlow模型代碼下載
- 創建一個空的資料夾名為TensorFlow(圖4)
|
|
|
圖4 |
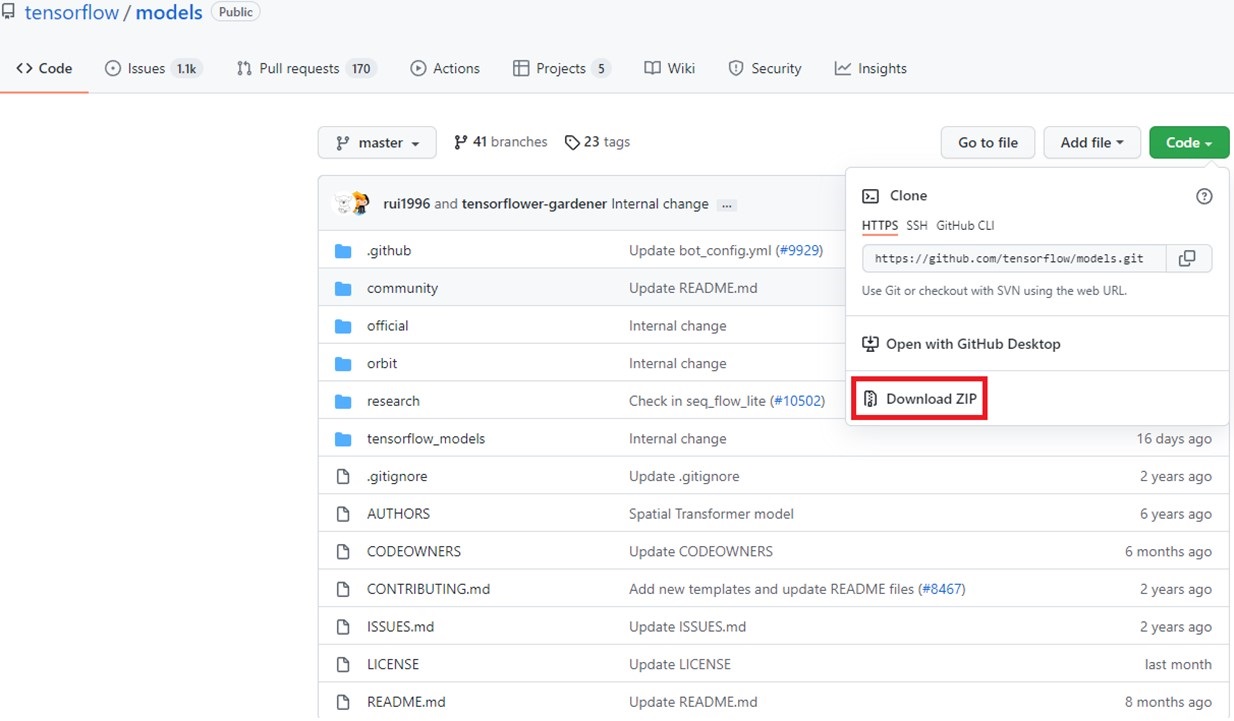
- GitHub下載TensorFlow模型代碼(圖5)並放入TensorFlow資料夾內
|
|
|
圖5 |
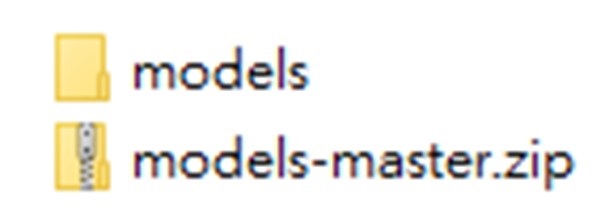
- 檔案解壓縮後需要將檔名重新更改(models-master à models)(圖6)
|
|
|
圖6 |
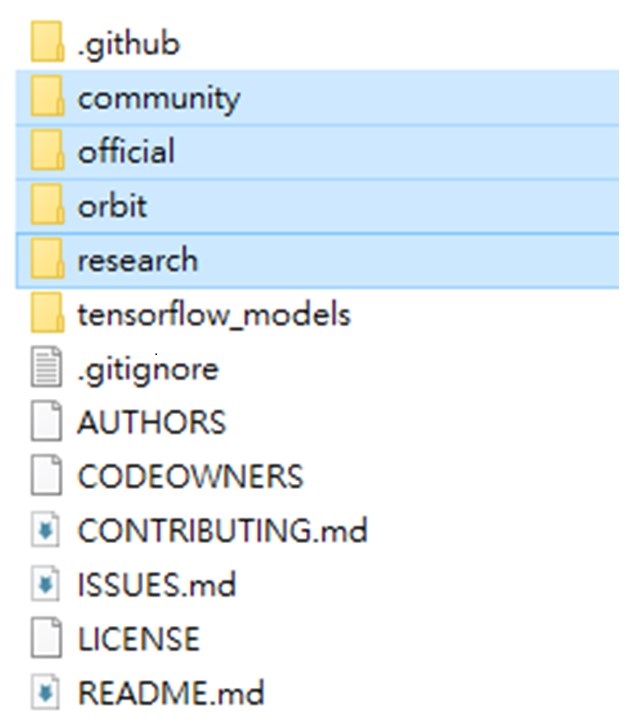
- models資料夾內有基本需要有4個資料夾(community、official、orbit、research)(圖7)
|
|
|
圖7 |
- Protobuf 下載與安裝
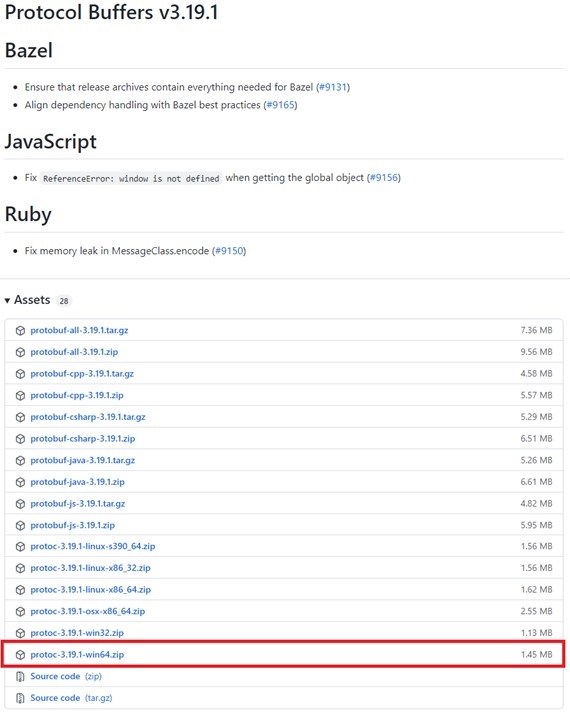
- 前往GitHub下載Protobuf,可下載最新版本,筆者這邊是使用Protocol Buffers v3.19.1,找尋win64版本進行下載(圖8)
|
|
|
圖8 |
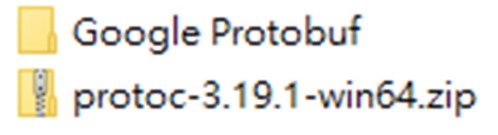
- 檔案解壓縮後需要將檔名重新更改(protoc-3.19.1-win64 à Google Protobuf) (圖9)
|
|
|
圖9 |
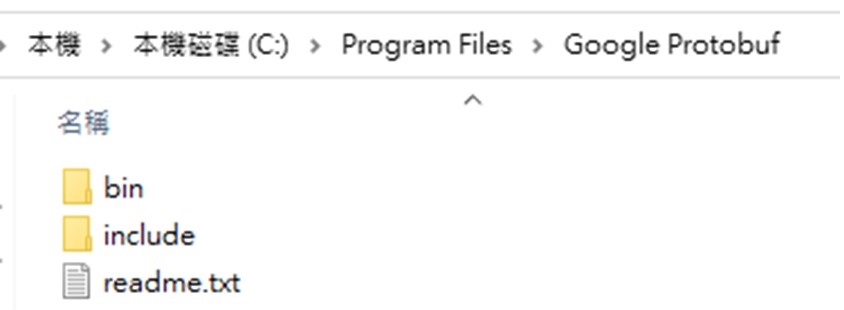
- 把Google Protobuf剪貼至C:\Program Files(圖10)
|
|
|
圖10 |
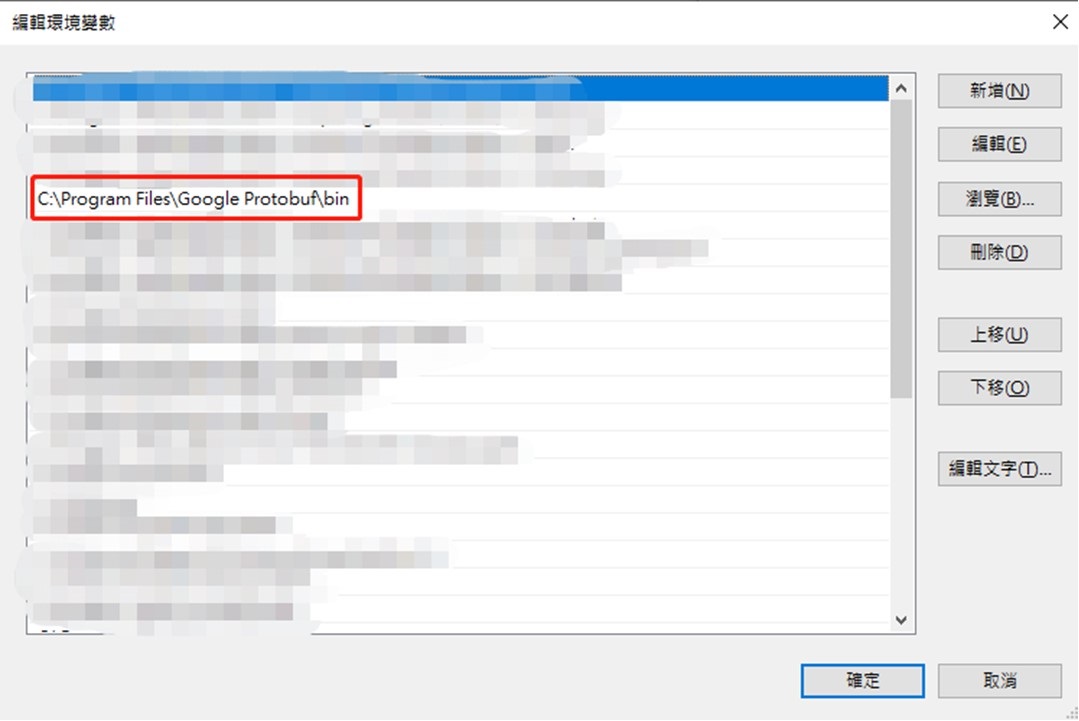
- 將C:\Program Files\Google Protobuf\bin添加到系統環境變數 (圖11)
|
|
|
圖11 |
- 開啟新的Terminal 進入tensorflow 虛擬環境進入TensorFlow/models/research/ (圖12)
|
|
|
圖12 |

- 輸入以下指令進行安裝Protobuf
|
protoc object_detection/protos/*.proto --python_out=. |
- Object Detection API 安裝
- 開啟新的Terminal 進入tensorflow 虛擬環境進入TensorFlow/models/research/
- 輸入以下指令進行安裝Object Detection API
|
cp object_detection/packages/tf2/setup.py . python -m pip install --use-feature=2020-resolver . |
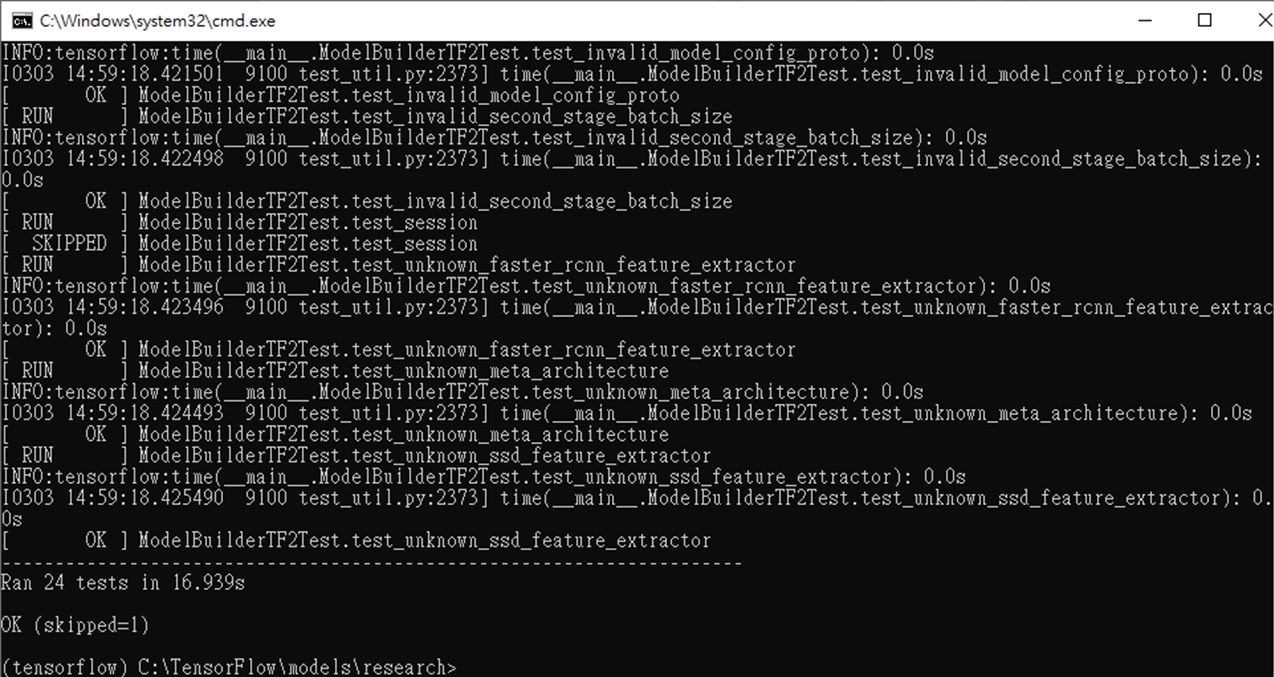
- 在相同的資料夾下輸入以下指令確認Object Detection API是否安裝成功
|
python object_detection/builders/model_builder_tf2_test.py |
- 安裝成功會出現以下資訊 (圖13)
|
|
|
圖13 |
4. 訓練圖資下載與分類
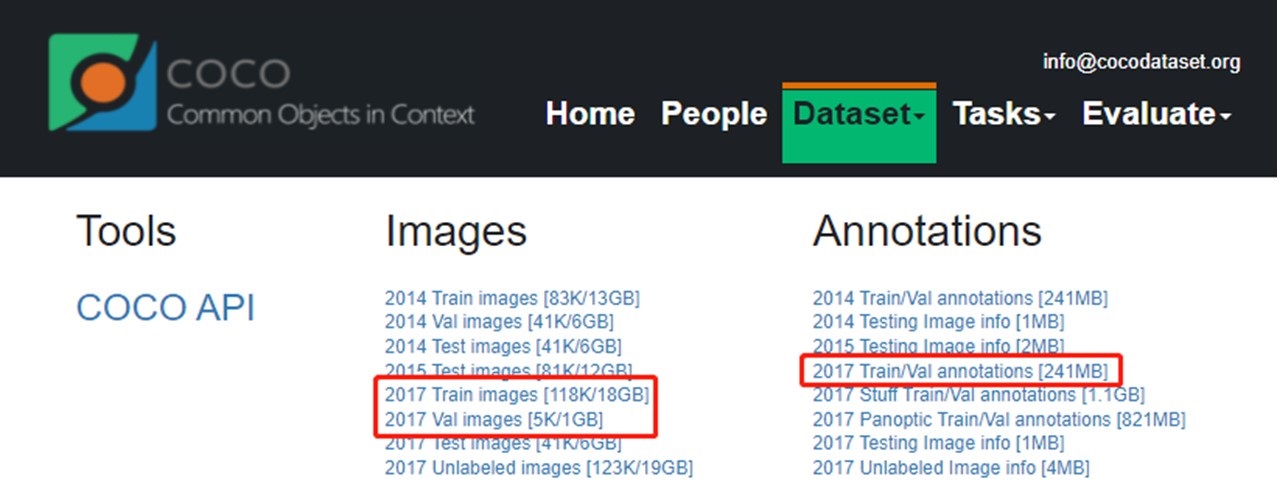
- 筆者使用Coco Datasets提供的2017 Train與Val相關圖資。(圖14)
|
|
|
圖14 |
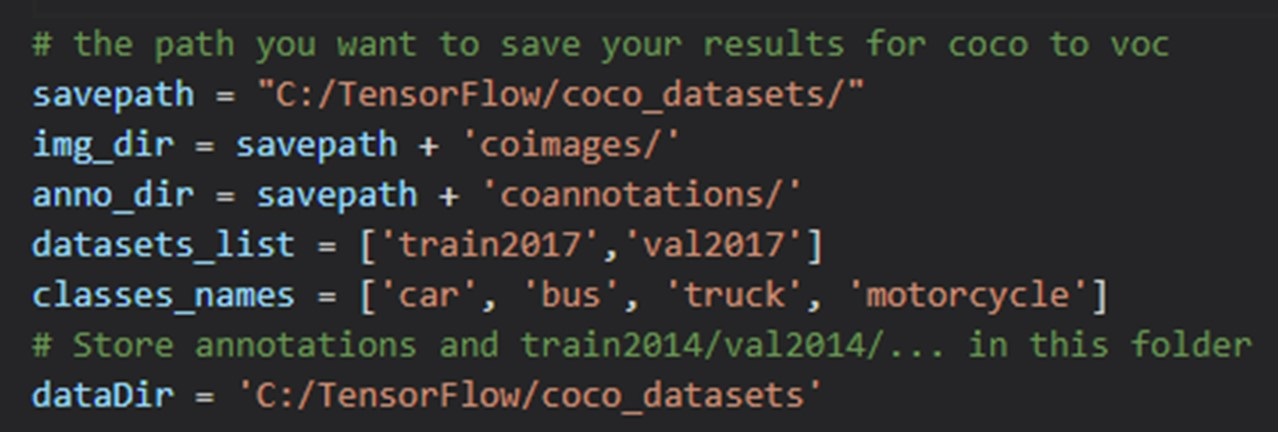
- 參考網友提供的COCO數據集轉VOC(提取自己需要的類),這樣既可以自訂偵測物件類別,使用此方式需要額外安裝scikit-image套件
|
pip install scikit-image |
- 筆者只需偵測car、bus、truck、motorcycle,可參考以下設定。(圖15)
|
|
|
圖15 |
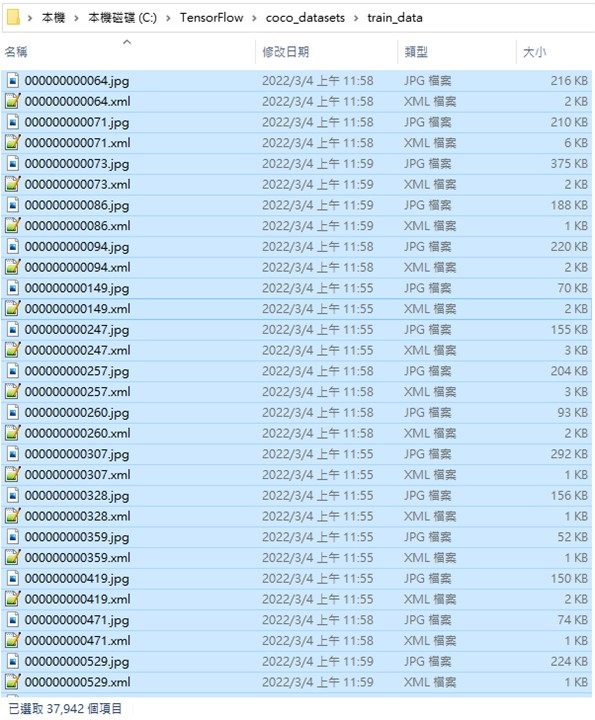
- 創建一個新的資料夾將分類好的圖片及xml檔案放置同一資料夾下。(圖16)
|
|
|
圖16 |
- 使用網路提供的py程式將圖資分為訓練及測試兩個部分,筆者使用9(訓練):1(測試),可使用下列指令進行分割
|
python partition_dataset.py -x -i C:/TensorFlow/coco_datasets/train_data -r 0.1 |
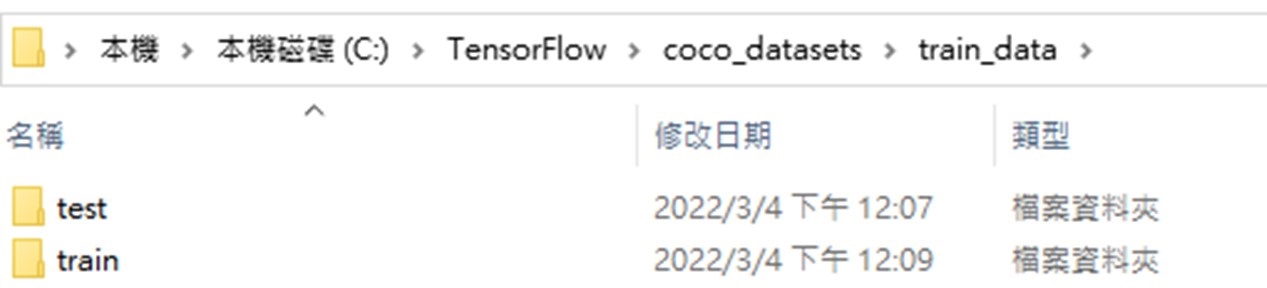
- 完成後可看到新增train與test兩個資料夾,代表分割完畢。(圖17)
|
|
|
圖17 |
5. TensorFlow物件偵測SSD-MobileNet遷移訓練
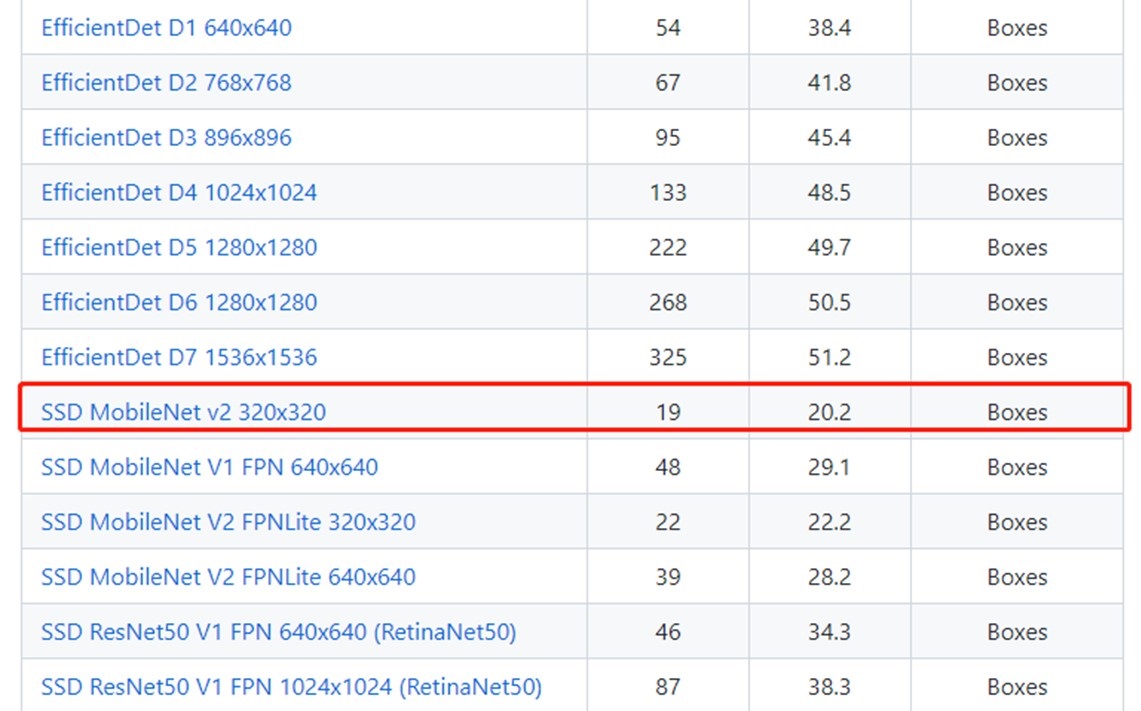
- 至TensorFlow 2 Detection Model Zoo 下載TensorFlow 2 Detection Model預訓練模型,筆者使用的是SSD MobileNet v2 320x320模型。(圖18)
|
|
|
圖18 |
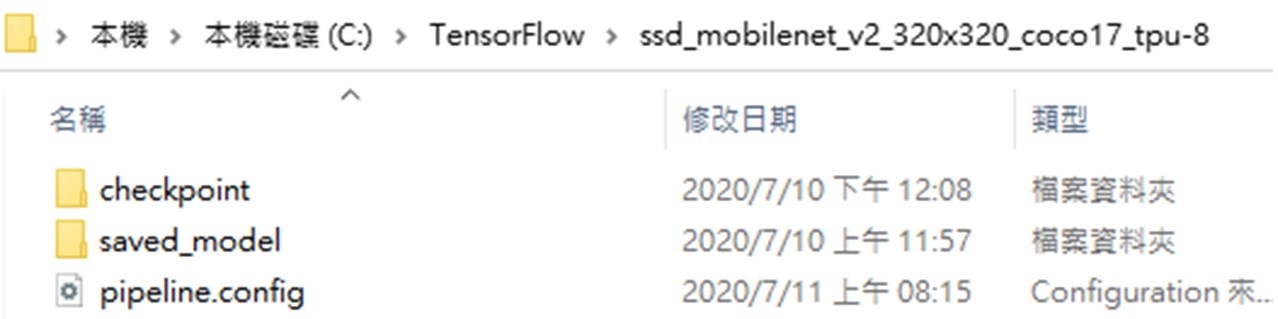
- 下載後進行解壓縮,會得到checkpoint、saved_model資料夾及config配置檔 (圖19)
|
|
|
圖19 |
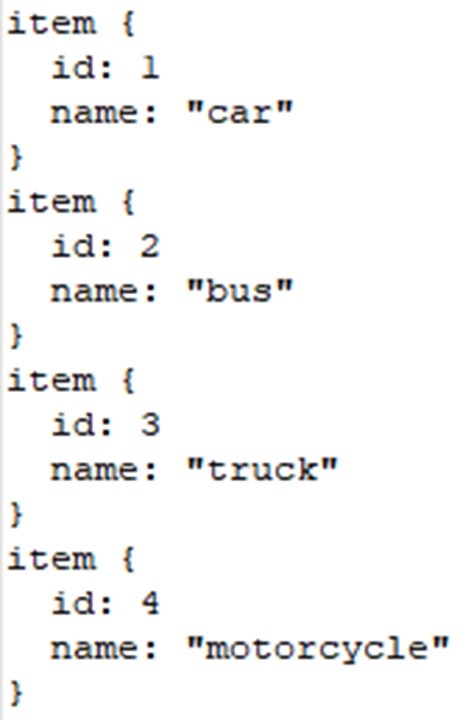
- 創建TensoeFlow訓練時所需的標籤檔案,筆者目標是偵測car、bus、truck、motorcycle,四類物件,因此標籤設定如下(圖20)
|
|
|
圖20 |
- 使用網路提供的py依照以下指令將train與test轉換為TensorFlow需要的TFRecord訓練格式。
|
python generate_tfrecord.py -x C:/TensorFlow/coco_datasets/train_data/train -l C:/TensorFlow/coco_datasets/label_map.pbtxt -o C:/TensorFlow/coco_datasets/train.record
python generate_tfrecord.py -x C:/TensorFlow/coco_datasets/train_data/test -l C:/TensorFlow/coco_datasets/label_map.pbtxt -o C:/TensorFlow/coco_datasets/test.record |
- 產出record與test.record兩個檔案 (圖21)
|
|
|
圖21 |

- 依據每個人需求來修改config配置檔,
|
num_classes: 4 batch_size: 32 fine_tune_checkpoint: "C:\\TensorFlow\\ssd_mobilenet_v2_320x320_coco17_tpu-8\\checkpoint\\ckpt-0" fine_tune_checkpoint_type: "detection" label_map_path: "C:\\TensorFlow\\coco_datasets\\label_map.pbtxt" input_path: "C:\\TensorFlow\coco_datasets\\train.record" label_map_path: "C:\\TensorFlow\\coco_datasets\\label_map.pbtxt" input_path: "C:\\TensorFlow\\coco_datasets\\test.record" |
- 開啟新的Terminal 進入tensorflow 虛擬環境進入TensorFlow/models/research/ object_detection (圖22)
|
|
|
圖22 |

- 使用以下指令進行模型訓練
|
python model_main_tf2.py --model_dir=C:\TensorFlow\ssd_mobilenet_v2_320x320_coco17_tpu-8\train --pipeline_config_path=C:\TensorFlow\ssd_mobilenet_v2_320x320_coco17_tpu-8\pipeline.config |
- 在C:\TensorFlow資料夾內新增一個new_model資料夾 (圖23)
|
|
|
圖23 |
- 訓練完成後使用以下指令將模型導出至new_model
|
python exporter_main_v2.py --input_type image_tensor --pipeline_config_path C:\TensorFlow\ssd_mobilenet_v2_320x320_coco17_tpu-8\pipeline.config --trained_checkpoint_dir C:\TensorFlow\ssd_mobilenet_v2_320x320_coco17_tpu-8\train --output_directory C:\TensorFlow\new_model |
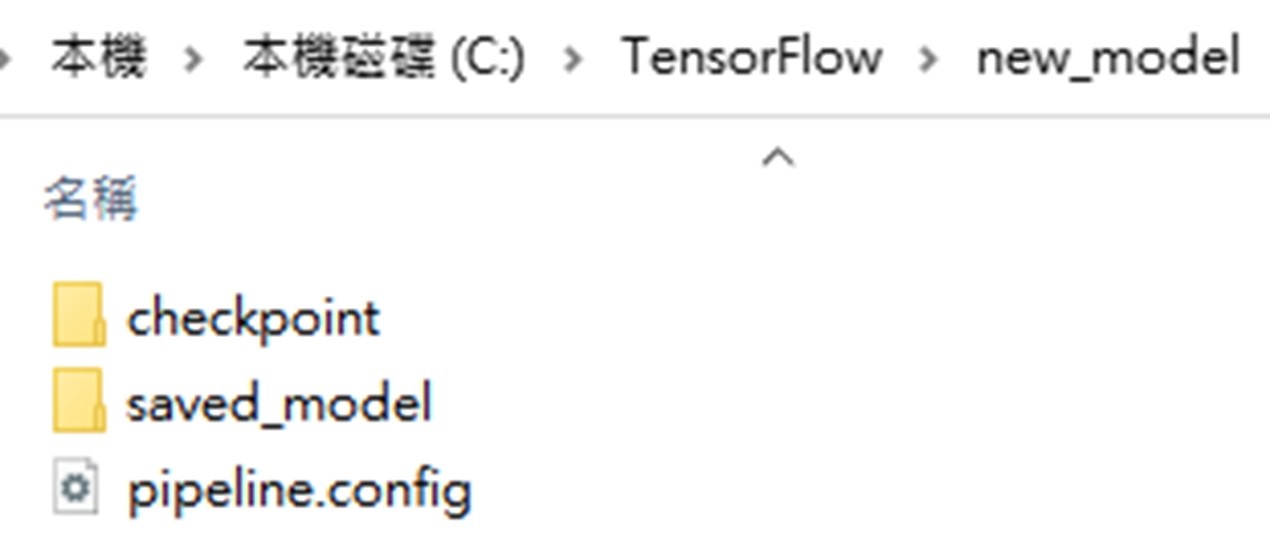
- 導出成功後可於new_model看到checkpoint、saved_model資料夾及config檔案 (圖24)
|
|
|
圖24 |
- saved_model資料夾內可以看到pb,此為訓練好的模型 (圖25)
|
|
|
圖25 |

結語
透過以上的教學,相信各位已經能夠成功地訓練自己想要偵測的物件,下一篇要教大家如何驗證自己訓練的模型,有問題的看官們歡迎聯繫我,我們一同討論。
喜歡我的帖子,請幫我按個”收藏”,我們下回見。
程式代碼引用:
partition_dataset.py與generate_tfrecord.py為sglvladi大神在Github上分享的TensorFlow Object Detection Tutorial內所包含的兩支程式。
評論