

一、簡介
隨著科技日新月異,數位轉型及智慧化應用將漸漸融入我們的生活及工作中,人工智慧 (Artificial Intelligence,AI) 與機器學習 (Machine Learning,ML) 的應用也是趨於廣泛。恩智浦半導體 (NXP) 因應 AI 及 ML 的應用需求,提出了 i.MX8M Plus 系列處理器,i.MX8M Plus 系列處理器搭載神經物理單元 (NPU),運算能力高達 2.3 TOPS,專注於機器學習、視覺、進階多媒體、IoT 及工業控制的應用。
世平集團 (WPI) 注意到 AI 在 IoT 及工業控制應用中的潛力,使用 NXP i.MX8M Plus 為核心製作了 OP-Killer 方案,OP-Killer SOM 板可獨立運作,可作為 IoT 領域的開發樣板。搭配 IO 板可提供其他通訊介面,可作為多媒體及工業控制領域的參考設計。
本文章會針對 OP-Killer 的 Linux BSP 開發環境架設做介紹,幫助使用者快速建立開發環境。
二、軟體需求
編譯主機:建議使用 Ubuntu 18.04 或以上版本
軟體開發包:NXP Linux BSP L5.10.9_1.0.0
補丁:WPI_OP-Killer_V4.patch
燒錄軟體:UUU.zip
三、硬體需求開發板:
WPI OP-Killer EVM 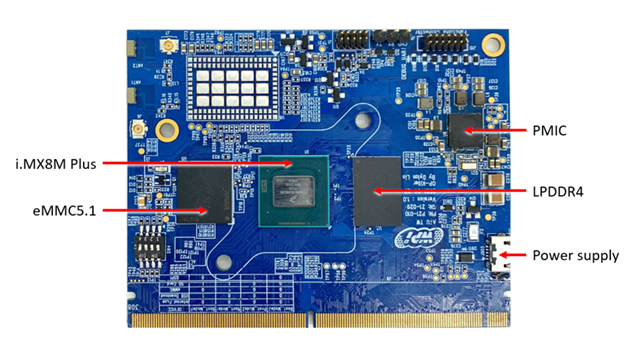
圖一、OP-Killer SOM EVM 正面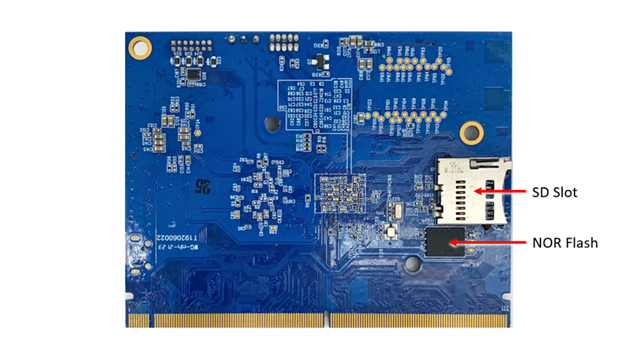
圖二、OP-Killer SOM EVM 背面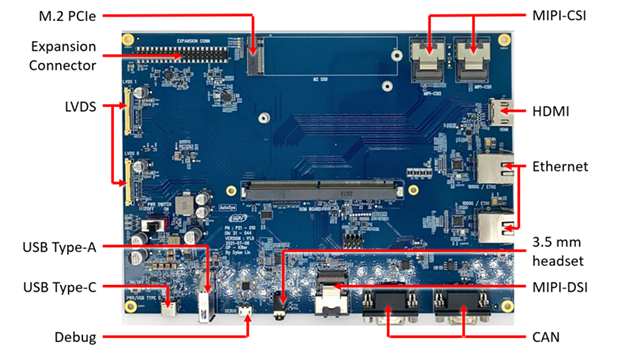
圖三、OP-Killer IO EVM 正面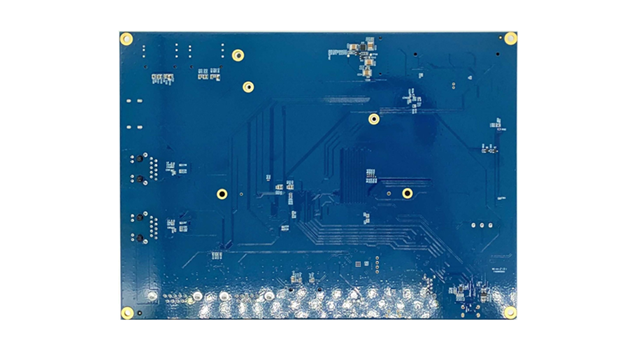
圖四、OP-Killer IO EVM 背面
四、操作步驟
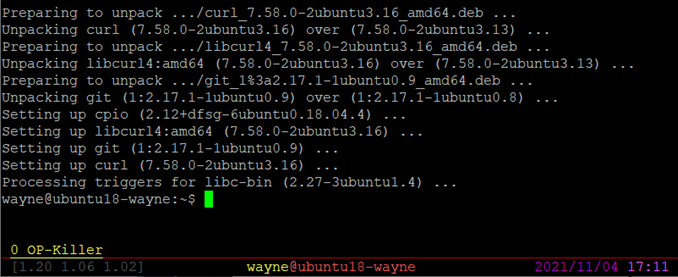
1. 更新並安裝 Ubuntu 套件 $ sudo apt update && sudo apt install -y gawk wget git-core diffstat unzip texinfo gcc-multilib build-essential chrpath socat cpio python python3 python3-pip python3-pexpect xz-utils debianutils iputils-ping python3-git python3-jinja2 libegl1-mesa libsdl1.2-dev pylint3 xterm rsync curl repo
2. 設定 git 資訊
$ git config --global user.name "your name"
$ git config --global user.email "your email"
3. 建立工作路徑
$ mkdir imx-yocto-bsp_L5.10.9_1.0.0 && cd imx-yocto-bsp_L5.10.9_1.0.0
4. 下載 NXP Linux BSP
$ repo init -u https://source.codeaurora.org/external/imx/imx-manifest -b imx-linux-gatesgarth -m imx-5.10.9-1.0.0.xml && repo sync 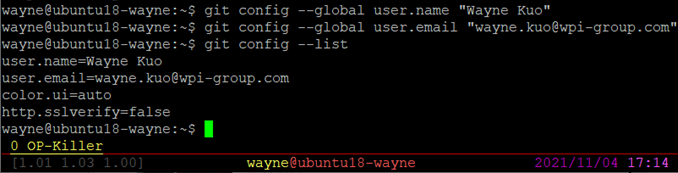
5. 打上 WPI OP-Killer 補丁
$ cd imx-yocto-bsp_L5.10.9_1.0.0/sources/meta-imx/
$ cp WPI_OP-Killer_V3.patch .
$ git apply WPI_OP-Killer_V4.patch 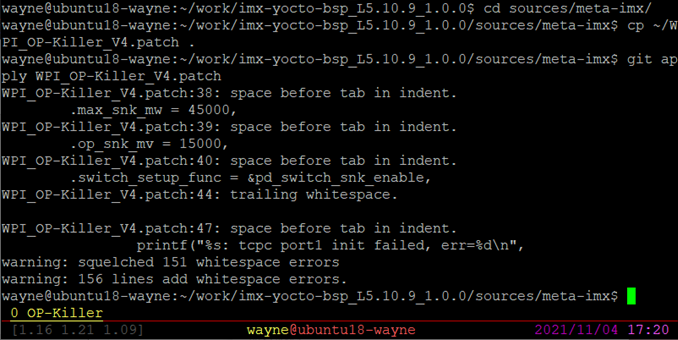
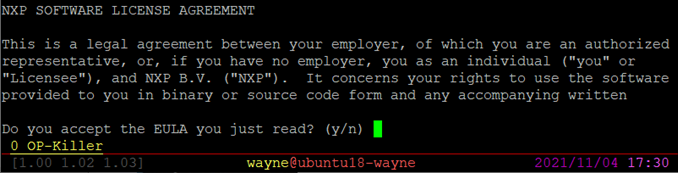
6. 建立編譯環境並同意許可協議
$ cd imx-yocto-bsp_L5.10.9_1.0.0
$ DISTRO=fsl-imx-xwayland MACHINE=imx8mpevk source imx-setup-release.sh -b build-xwayland-8mp
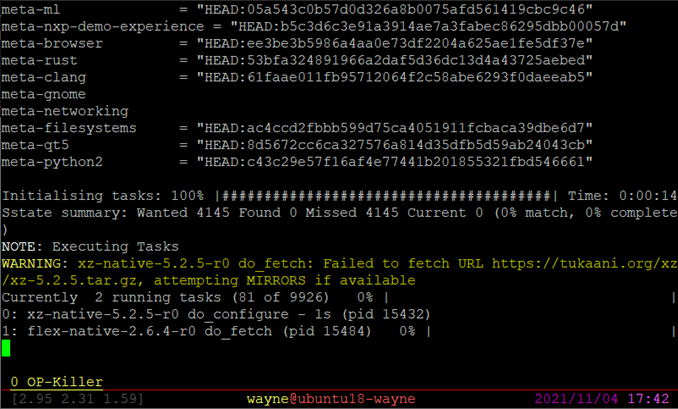
7. 編譯 BSP
$ bitbake imx-image-full
五、常用 Yocto 編譯指令
1. 重新編譯時,設定編譯環境
$ cd imx-yocto-bsp_L5.10.9_1.0.0
$ source setup-environment build-xwayland-8mp
2. 單獨編譯 U-Boot 並部署映像檔
$ bitbake -f -c compile u-boot-imx && bitbake -f -c deploy u-boot-imx
3. 單獨編譯 imx-boot 並部署映像檔
$ bitbake -f -c compile imx-boot && bitbake -f -c deploy imx-boot
4. 單獨編譯 Kernel 並部署映像檔
$ bitbake -f -c compile linux-imx && bitbake -f -c deploy linux-imx
六、映像檔
1. 映像檔的儲存路徑為:
imx-yocto-bsp_L5.10.9_1.0.0/build-xwayland-8mp/tmp/deploy/images/imx8mpevk
2. 主要映像檔如下表
| 映像檔 | 描述 |
| imx-image-full-imx8mpevk.wic.bz2 | SD Card Image |
| imx-boot | Bootloader |
| imx8mp-op-killer.dtb | Device Tree Blob |
| Image | Kernel Image |
| imx-image-full-imx8mpevk.tar.bz2 | Root Filesystem |
七、燒錄映像檔
1. 使用 SD Card Image 燒錄 SD Card
1) 將 SD Card 映像檔解壓縮
$ bzip2 -d imx-image-full-imx8mpevk.wic.bz2
2) 燒錄 SD Card
$ sudo dd if=imx-image-full-imx8mpevk.wic of=/dev/sdX 
2. 使用 UUU 燒錄 eMMC
1) 將 UUU 工具包解壓縮
2) 將 imx-boot 與 imx-image-full-imx8mpevk.wic 放入 UUU 工具目錄下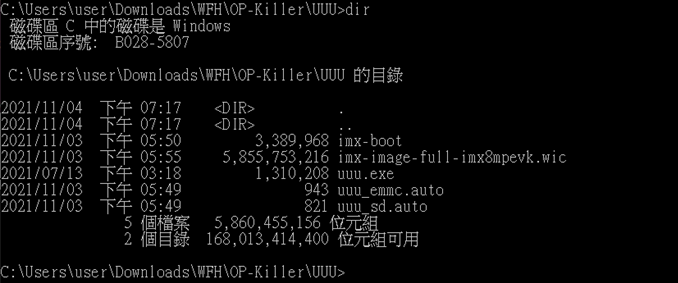
3) 將 SOM 指撥開關 (SW4) 設定為 off-off-off-on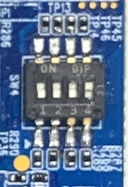
4) 使用 USB Type-C 將 PC 與 IO PWR/USB TYPE C 插槽 (J3) 連接在一起
5) 打開 IO 電源開關 (J2)
6) 開啟 Windows CMD 移動到 UUU 工具目錄
7) 執行指令燒錄 eMMC
> uuu.exe uuu_emmc.auto 
八、開機測試
1. SD Card 開機測試
1) 將 SOM 指撥開關 (SW4) 設定為 off-off-on-on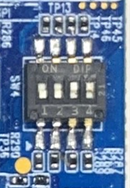
2) 將 SD Card 插入 SOM SD Card 插槽 (J5)
3) 使用 Micro USB 連接 PC 與 IO Debug Port (J15)
4) 將 USB Type-C 插入 IO PWR/USB TYPE C 插槽 (J3)
5) 打開 IO 電源開關 (J2) 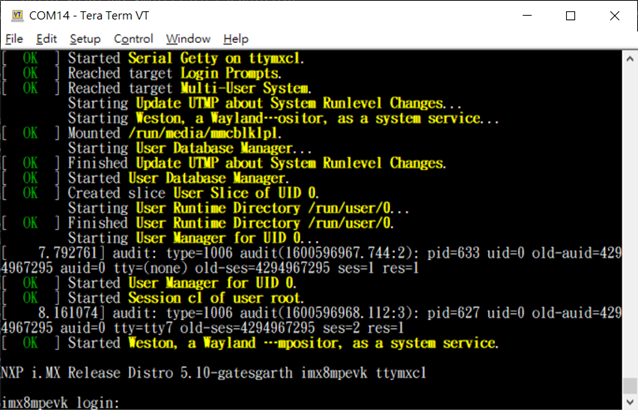
2. eMMC 開機測試
1) 將 SOM 指撥開關 (SW4) 設定為 off-off-on-off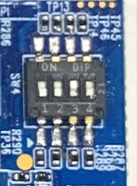
2) 使用 Micro USB 連接 PC 與 IO Debug Port (J15)
3) 將 USB Type-C 插入 IO PWR/USB TYPE C 插槽 (J3)
4) 打開 IO 電源開關 (J2)
以上我們講述了如何架設 OP-Killer 方案的編譯環境、編譯方式、映像檔燒錄與開機測試。這些步驟可以為使用者提供基礎的開發環境與開發板的使用方式。下一篇文章我們會針對 DDR Calibration 與 Stress Test 做說明。
評論
mike_SU
2022年6月17日